How To Create A Custom 404 Page In Next Js App Router

Introduction
Redirecting to a page that is not found on your website is annoying and what makes it more annoying is the fact that the generic 404 page from next.js is ugly and you just hate yourself for going to a file that is not found. But there is nothing you can do except you make it pretty and that’s what we’re going to do in this article.
Understanding Next.js Routing in app router
Next.js has two options for routing but in this article, we’re only going to be working with the app router which is the recommended option for next.js. Routing in the app router is different from page router but we won’t be looking at that today.
Routing in the app router is pretty cool, you can define a unique route by creating a folder and putting “page.tsx” in it and it automatically handles client-side navigation.
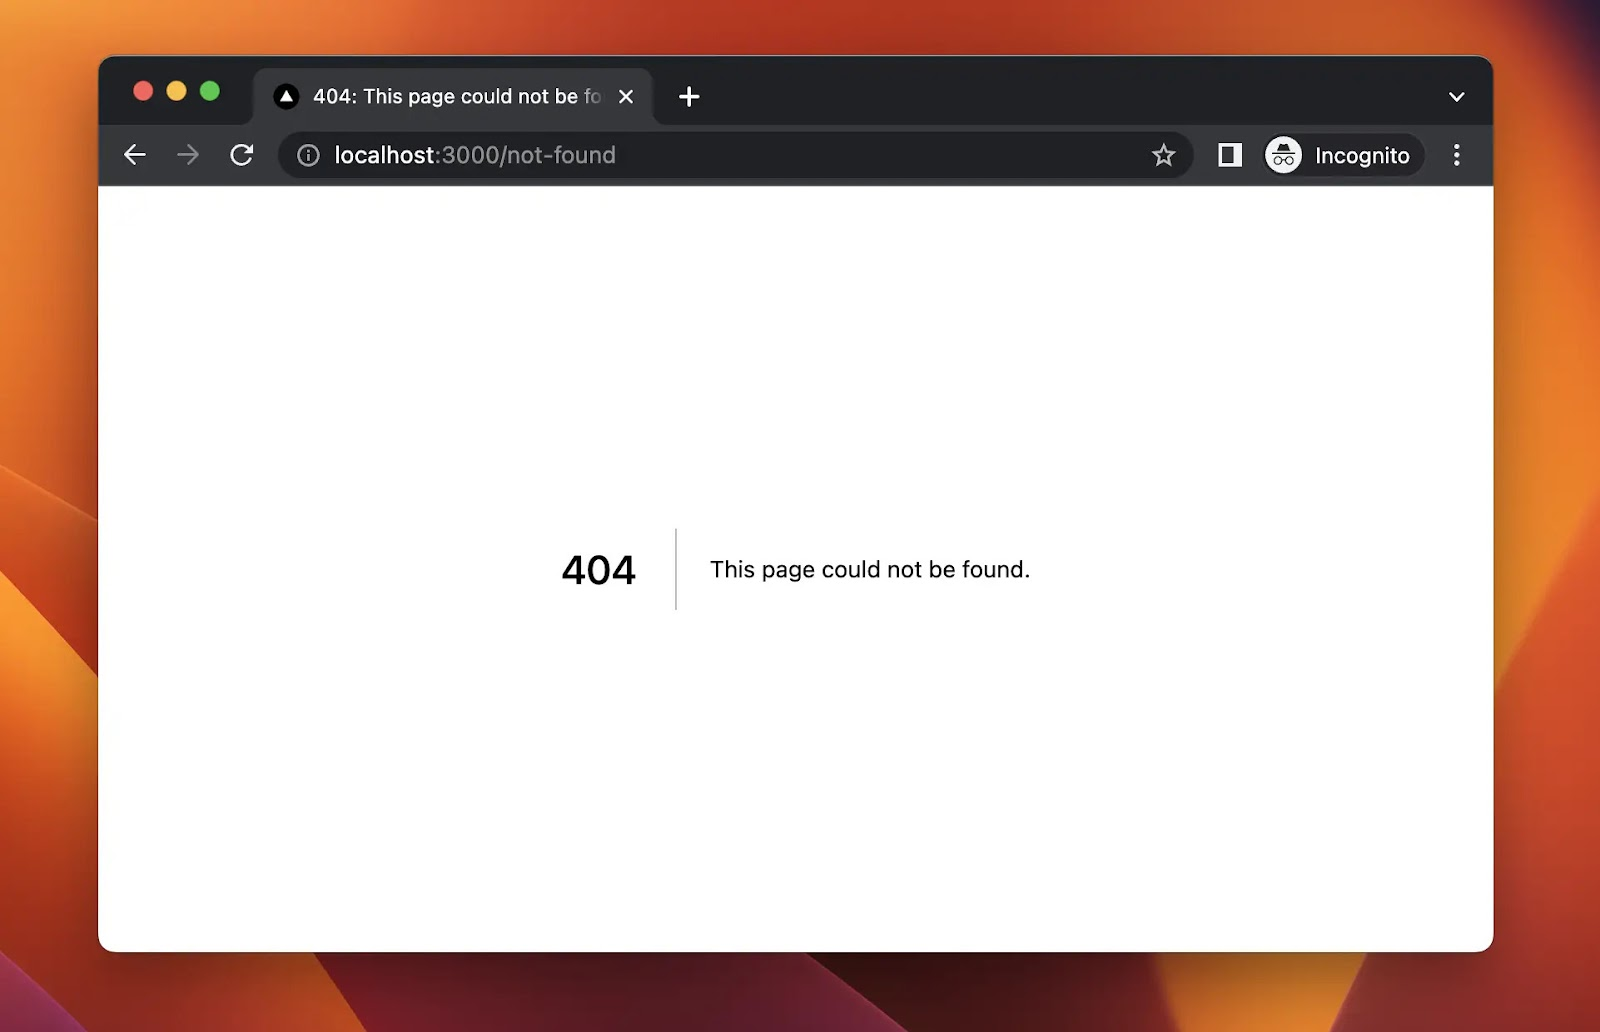
Next.js has file conventions which are the rules or guidelines for naming files that define routes of your web application and will be looking at one of the files next.js has which is not-found.js which renders as the 404 page.
No offense but I honestly don’t want to see this UI when I redirect to a URL that is not found on your website.
Why a custom 404 page?
By customizing your 404 page you have the opportunity to turn a potential frustration for users into a unique and engaging experience. A customized 404 page will give the user a good experience because you have a detailed message telling them that they are on the wrong page and a button for them to redirect them to the homepage. You can make the page engaging by adding your brand identity like color, logo, image, etc., and something cool like what we’ll be doing today.
Setting Up a Next.js Project and Integrating Tailwind CSS
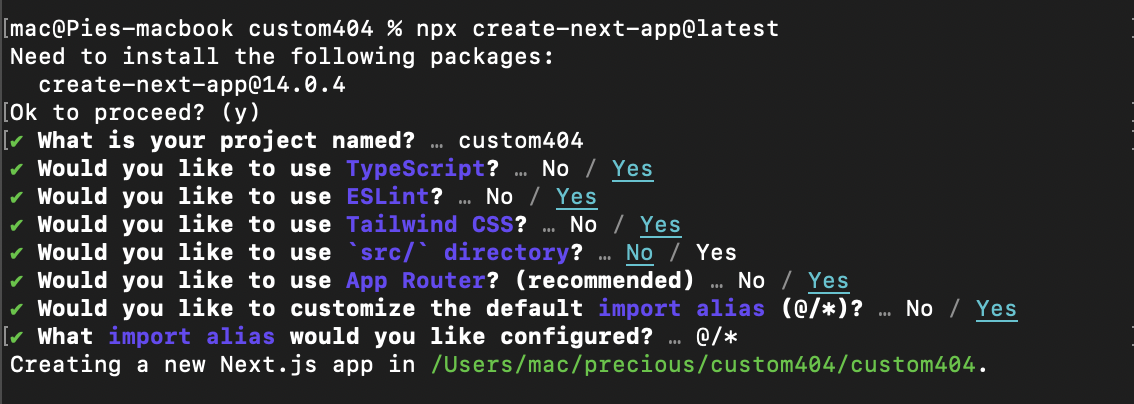
Let’s install the next.js project using this command

Take note of what I selected and do that for yours.
Creating the 404 Page and Adding Styles with Tailwind
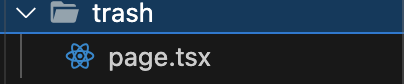
Create a page called “not-found”
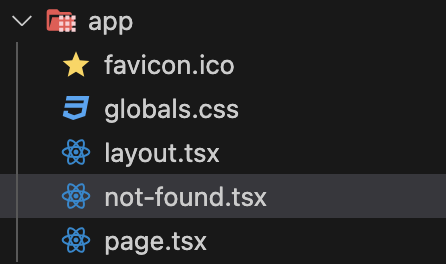
This page automatically becomes your custom 404 page.
Let’s write something inside and check out how it looks on the browser.


Woah, it works. So let’s make it pretty.
Use this code to update the style.
1"use client";
2import { useState, useEffect } from "react";
3import Link from "next/link";
4
5export default function NotFound() {
6const [mousePosition, setMousePosition] = useState({ x: 0, y: 0 });
7
8useEffect(() => {
9const handleMouseMove = (e: any) => {
10setMousePosition({ x: e.clientX, y: e.clientY });
11};
12
13if (typeof window !== "undefined") {
14window.addEventListener("mousemove", handleMouseMove);
15
16return () => {
17window.removeEventListener("mousemove", handleMouseMove);
18};
19}
20}, []);
21
22// Calculate the position of the white circle within the parent circle
23const parentCircleRadius = 50; // Adjust this based on your design
24
25// Check if window is defined before accessing mousePosition
26const deltaX =
27typeof window !== "undefined" ? mousePosition.x - window.innerWidth / 2 : 0;
28const deltaY =
29typeof window !== "undefined"
30? mousePosition.y - window.innerHeight / 2
31: 0;
32
33const angle = Math.atan2(deltaY, deltaX);
34const whiteCircleX =
35typeof window !== "undefined" ? Math.cos(angle) * parentCircleRadius : 0;
36const whiteCircleY =
37typeof window !== "undefined" ? Math.sin(angle) * parentCircleRadius : 0;
38
39  return (
40  <div className="items-center flex justify-center flex-col h-full gap-5">
41  <div className="flex items-center text-[#e85444] gap-5">
42  <span className="text-[200px]">4</span>
43  <span className="flex items-center justify-center relative">
44  <span
45  className="bg-[#e85444] rounded-full p-20"
46  style={{
47  top: `calc(50% - 10px)`,
48  left: `calc(50% - 10px)`,
49  }}
50  >
51  <span
52  className="bg-[black] rounded-full p-3 absolute"
53  style={{
54  top: `calc(50% - 15px + ${whiteCircleY}px)`,
55  left: `calc(50% - 15px + ${whiteCircleX}px)`,
56  }}
57  >
58  <span className="rounded-full p-1 absolute"></span>
59  </span>
60  </span>
61  </span>
62  <span className="text-[200px]">4</span>
63  </div>
64  <h2 className="dark:text-white text-black font-semibold text-3xl">
65  This Page does not exist
66  </h2>
67  <Link
68  href="/"
69  className="dark:text-white dark:hover:text-slate-300 underline transition-colors duration-300"
70  >
71    Return Home
72  </Link>
73  </div>
74);
75}
76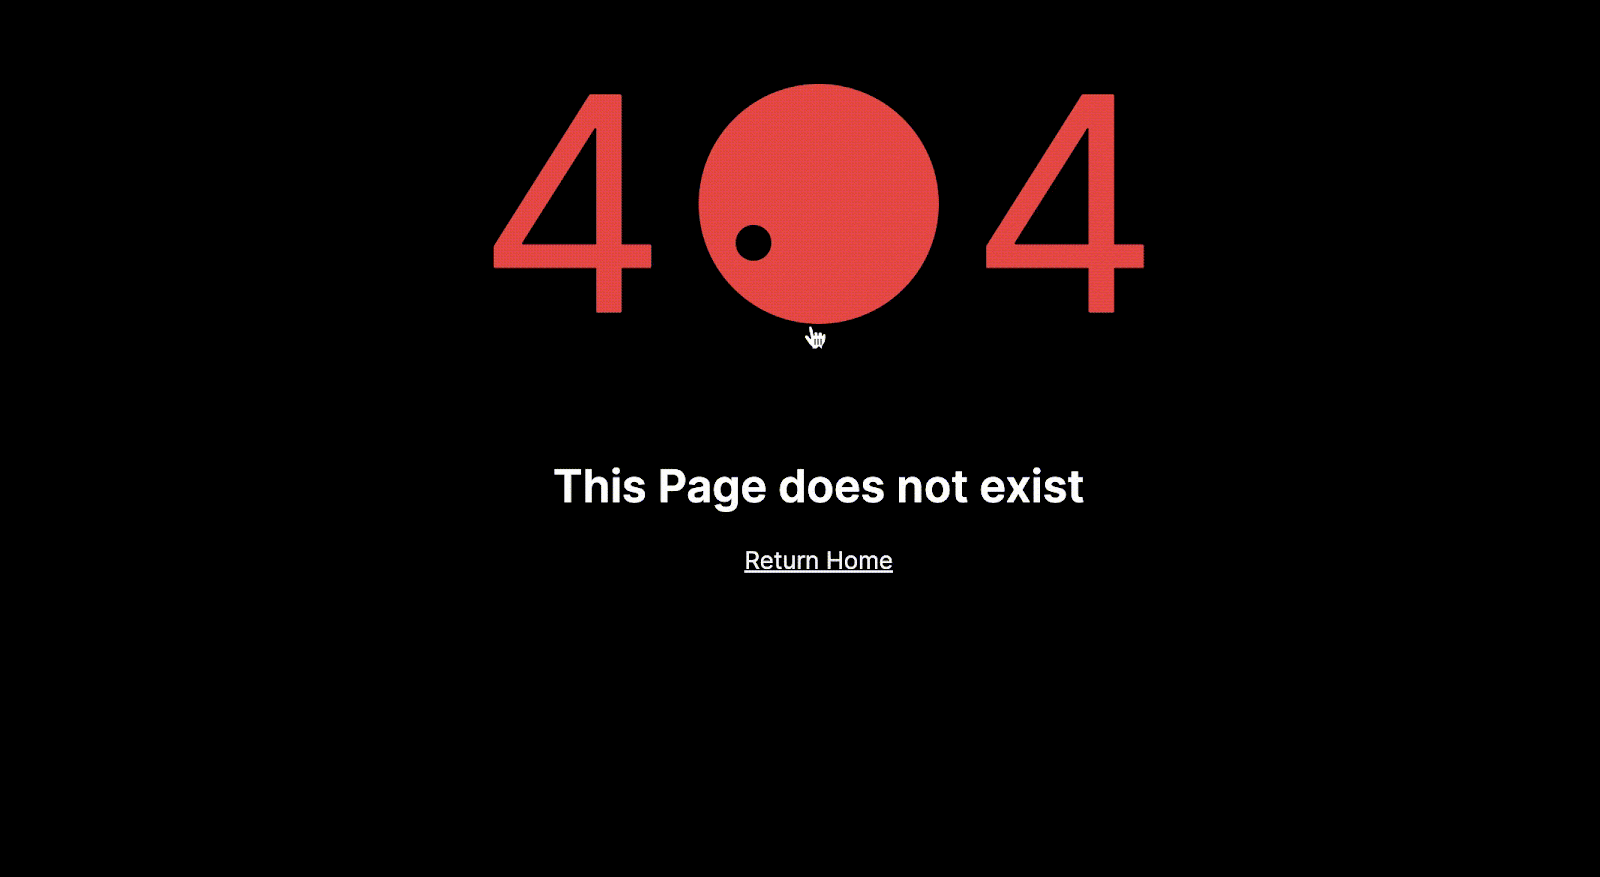
Conclusion
I hope this article has successfully guided you on how to create your custom 404 page. Make sure to create a prettier UI for your 404 page.


